


Make a Bouquet: Step-by-Step
June 25th, 2014
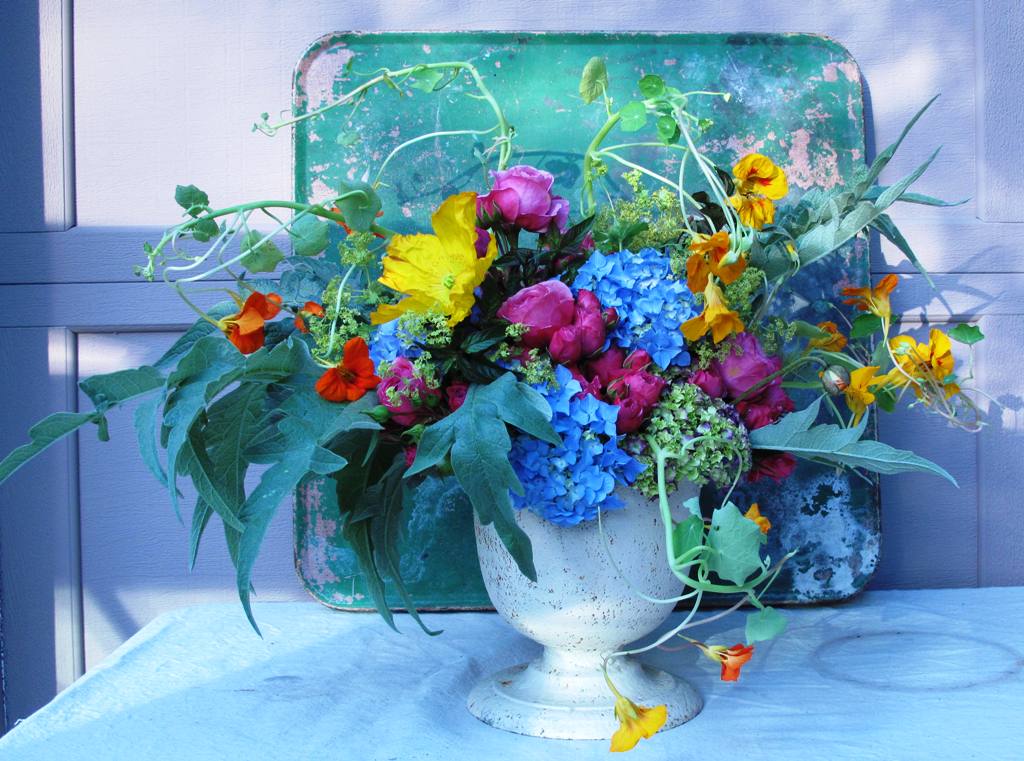
June Bouquet with ornamentals and edibles.
Last weekend I was involved with the Hardy Plant Study Weekend as a speaker and a participant. This is an annual event, held every June. I rotates between Washington, Oregon and British Columbia, and this year was hosted and produced by the Northwest Perennial Alliance.
I was asked to present a floral design demonstration at Saturday night’s gala, held at Wells Medina Nursery. What could be better than attending a fun dress-up party with the theme “50 Shades of Green” (get it?). Surrounded by horticulture friends old and new, many of them who wore awesome green outfits, I demonstrated “The Marriage of Ornamentals and Edibles in the Vase.”
Here is a recreation of that arrangement, using most of the same flowers that I included in the first arrangement. I used a sizeable cast-iron urn (7 inches wide x 9 inches high) and filled it with a 5-inch vintage flower frog (cage style). NO FOAM, people! It’s not necessary and it actually shortens the vase life of flowers like these.
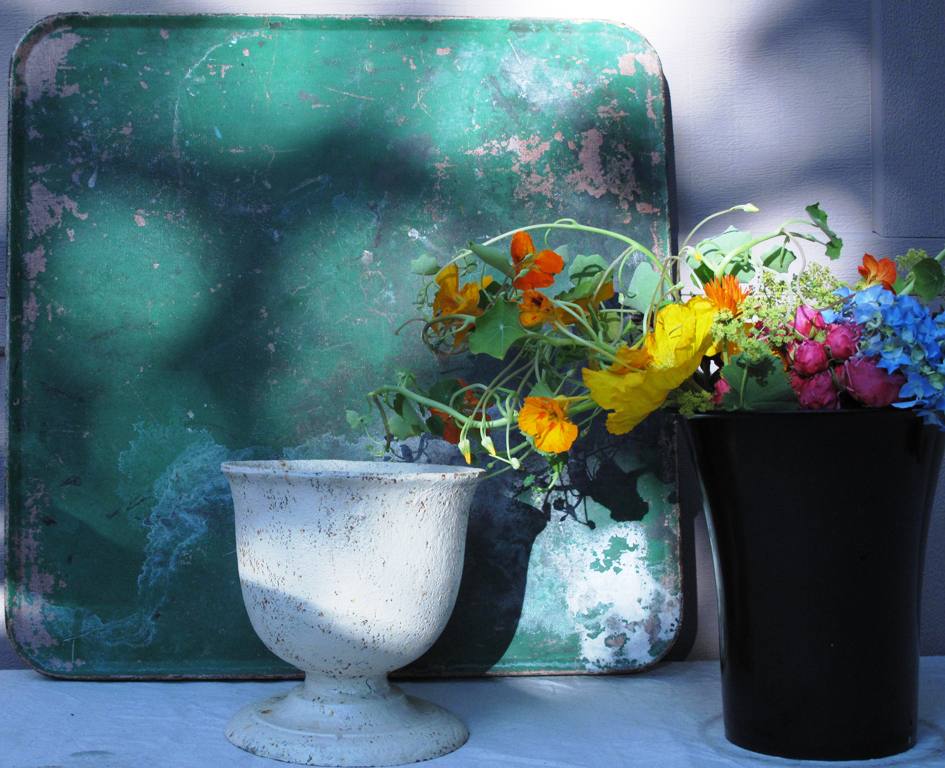
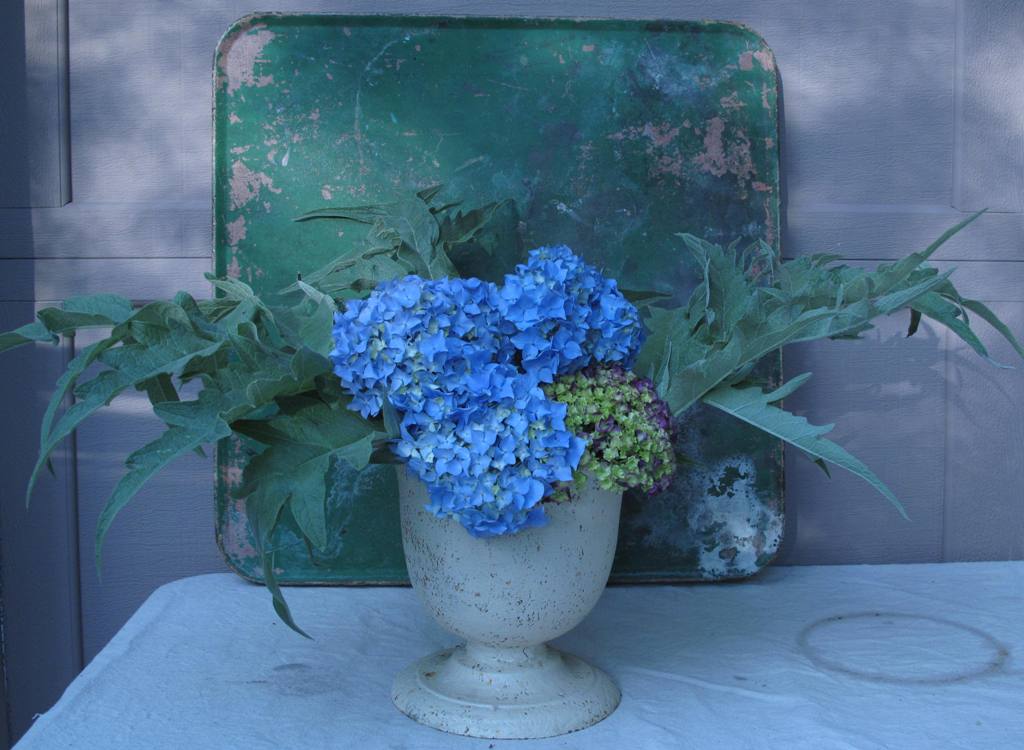
Step One: Choose an awesome container. This image gives you a good idea of the vessel’s shape and scale.
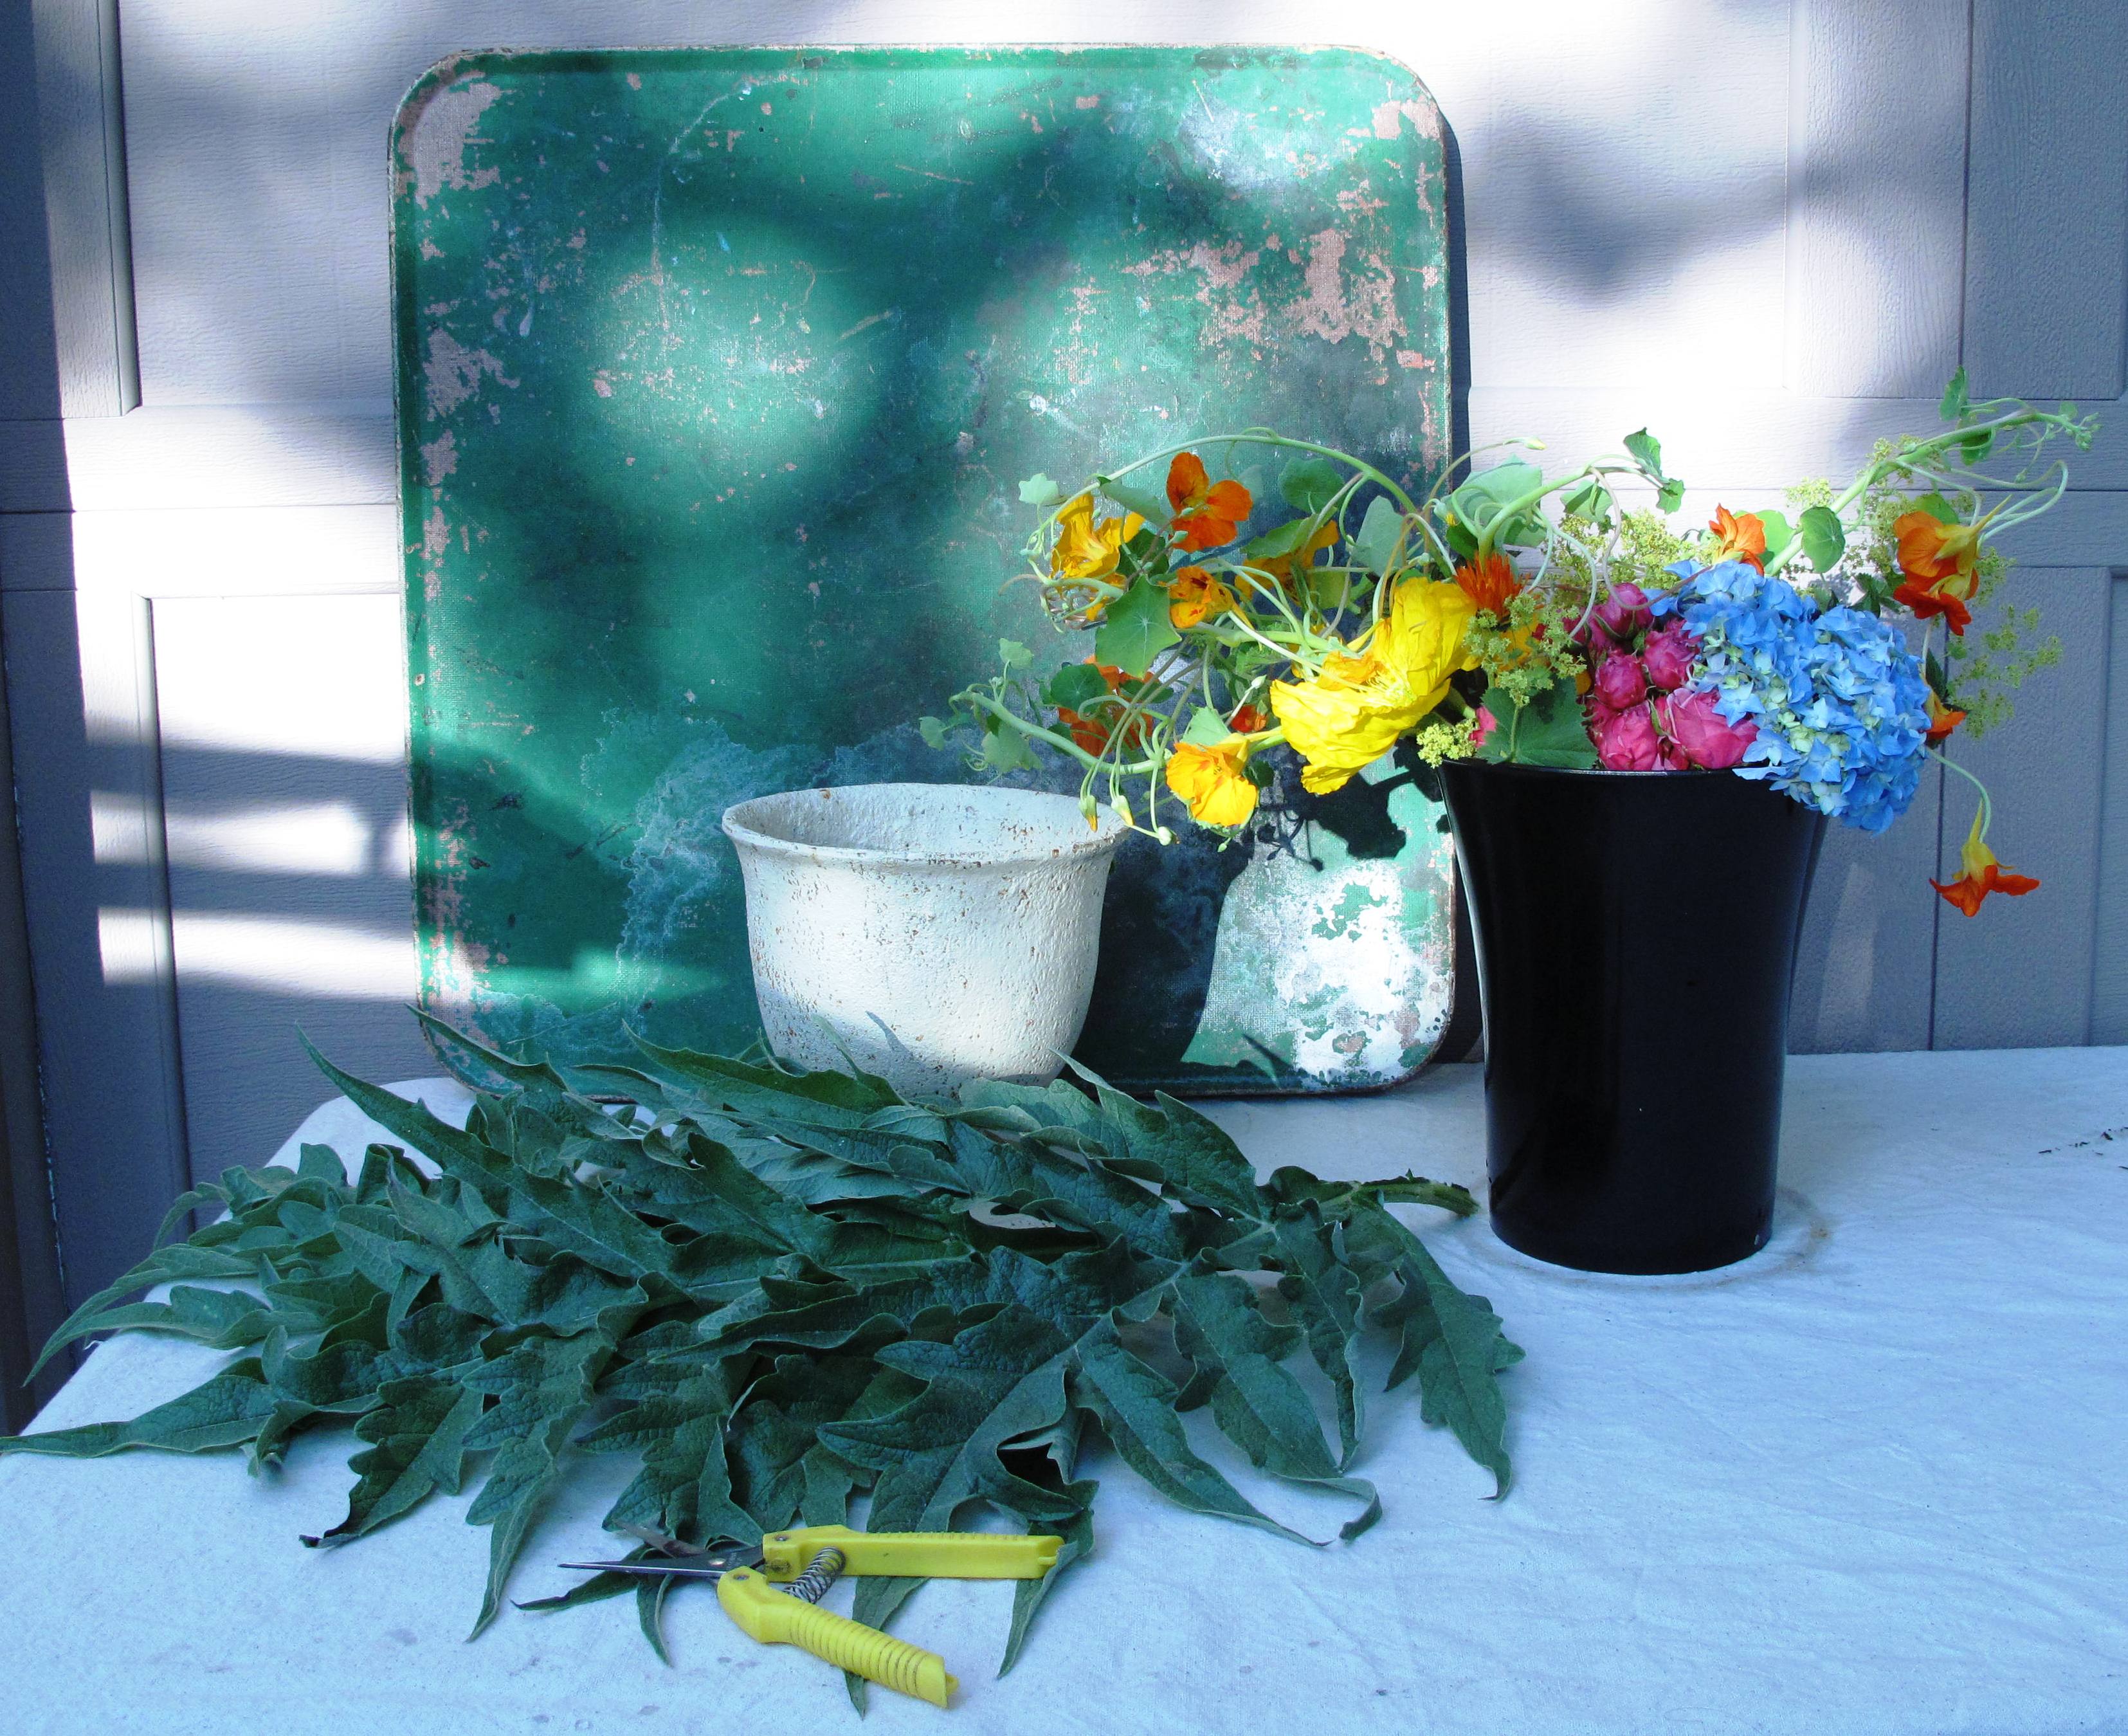
Gather together your foliage. Start with something large and dramatic. Artichoke/Cardoon foliage is a great summer element- straight from the veggie garden.
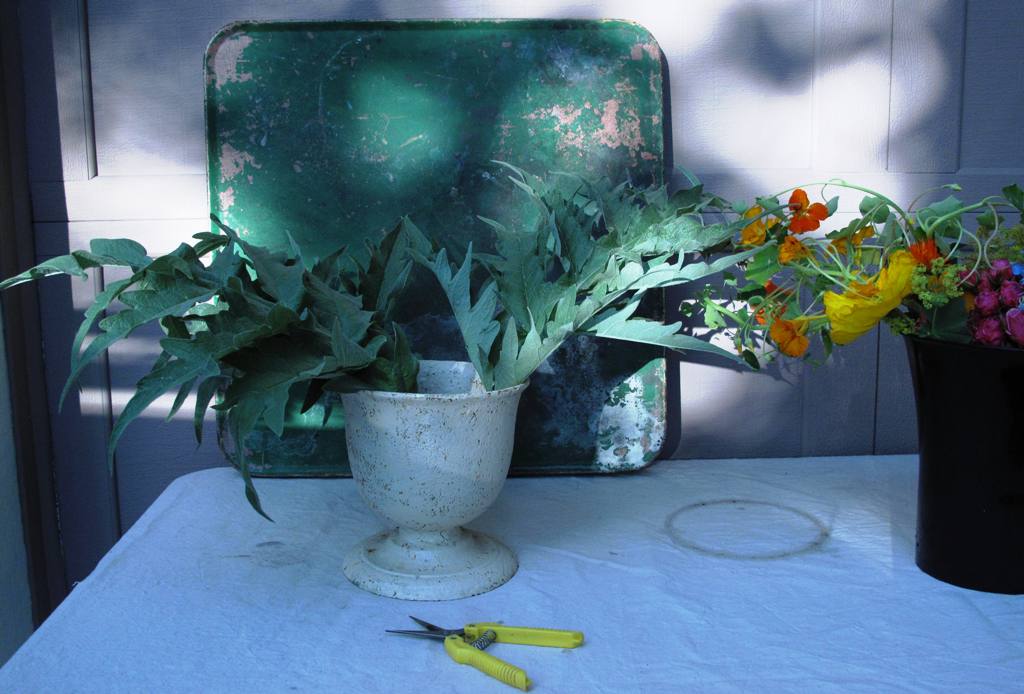
Step Two: Add the largest foliage first. I placed three leaves asymmetrically.
Step Three: Add the larger textural elements, like hydrangeas – straight from my garden.
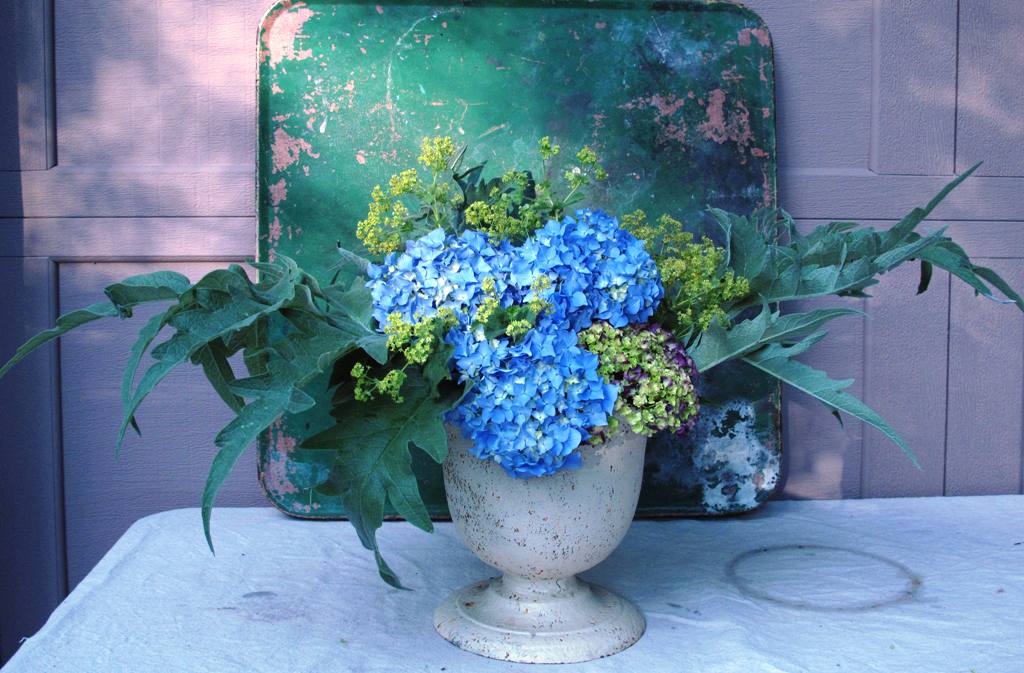
Step Four: Add more texture for contrast. Here, I added ladies mantle – lime green and super fluffy. Also straight from my garden.
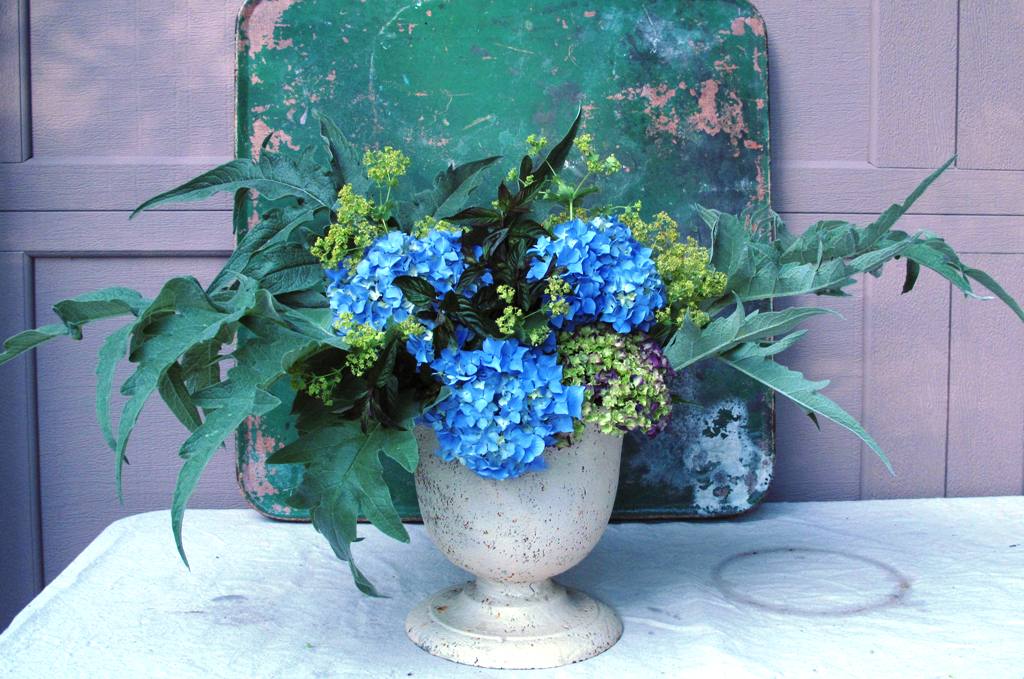
Step Five: Add smaller, darker, glossier foliage. Like sprigs of mint. They smell fantastic!

Step Six: Now, the diva flowers. Like these locally-grown garden roses.
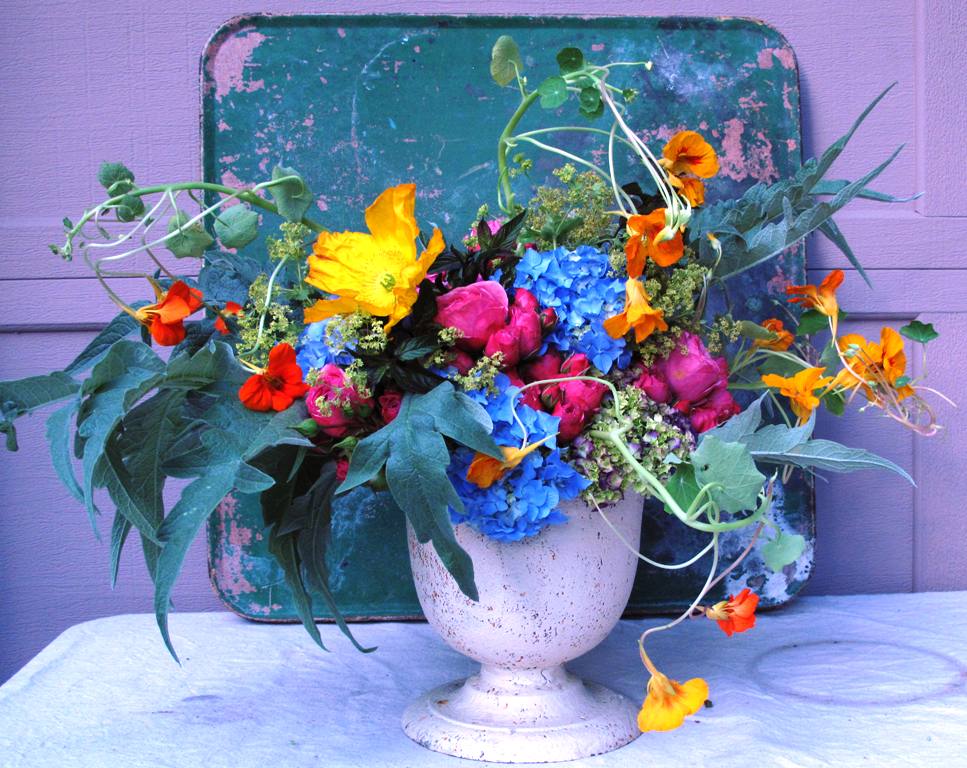
Step Seven: The final “viney” elements! Love the nasturtium. It lasts surprisingly long in the vase. PS, one vivid yellow poppy!
How do you keep this looking fresh for an entire week? Place this urn down inside the sink and run water inside (using the nozzle on the sink faucet). Give this vase a drink for 2-3 minutes and let the excess water spill over the edge. You’ll basically replace old, clouded water with fresh, clean water!
June 25th, 2014 at 2:40 pm
OOoo Nasturtium!! How does that hold up. It’s one of my favorites ever since I discovered the leaves are edible (they taste like pepper). The runover vase water change technique is new to me too. Thanks.
June 29th, 2014 at 8:03 pm
You know, Leanne, that nasturtium lasted more than a week in the vase – it looked awesome! A few leaves yellowed, but I just snipped them off of the main vine. Surprise, surprise! Nasturtium is an awesome, long-lasting cut flower!
June 30th, 2014 at 10:53 am
I think I can do that, soon. Most of those are already blooming in my garden and I think I can get some artichoke leaves from my friend.