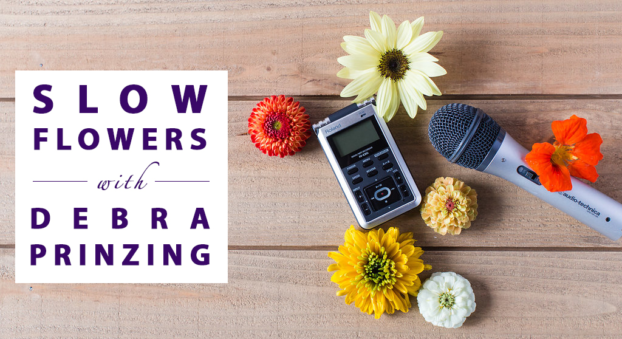
Podcast: Play in new window | Download
Subscribe: Apple Podcasts | Google Podcasts | Podcast Index | RSS | More
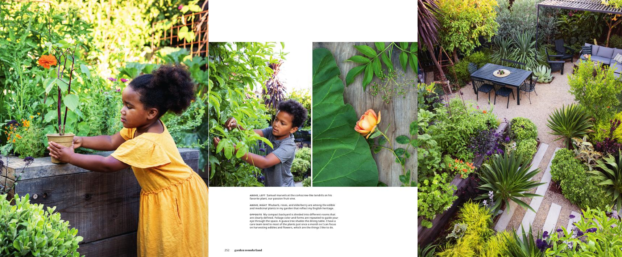
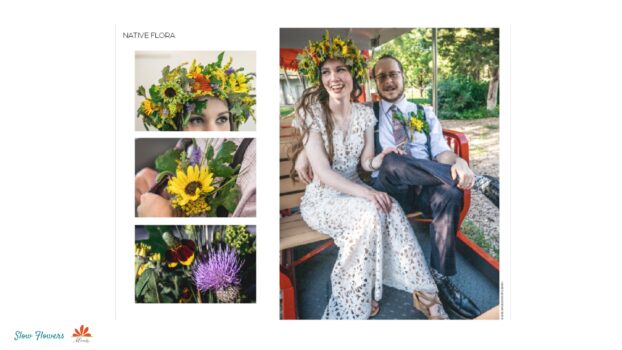
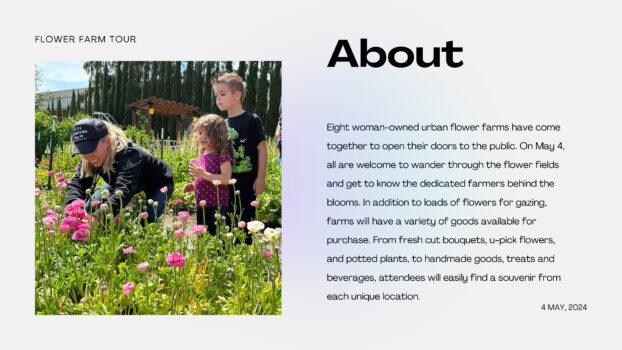
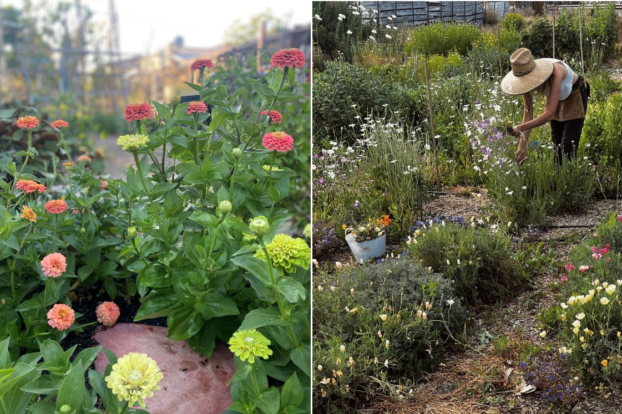
Meet three of the flower farmers behind the bountiful LA Flower Farm Tour, as eight woman-owned urban flower farms come together to open their gates to the public on May 4th. These growers, including three Slow Flowers member-owned farms, will welcome Los Angeles flower lovers and gardeners to wander through their fields and get to know the farmers behind the blooms.
We’re previewing the upcoming Los Angeles Flower Farm Tour – a journey through the lesser-known world of local blooms being cultivated throughout the City of Angels.
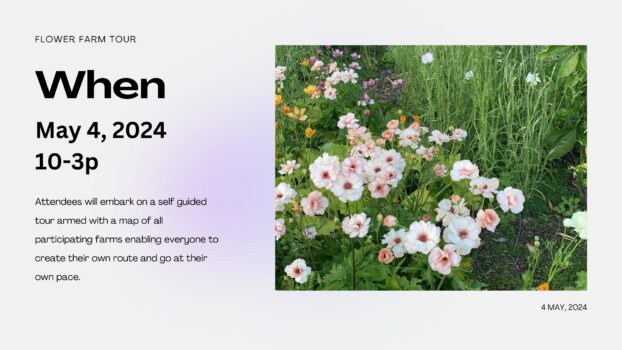
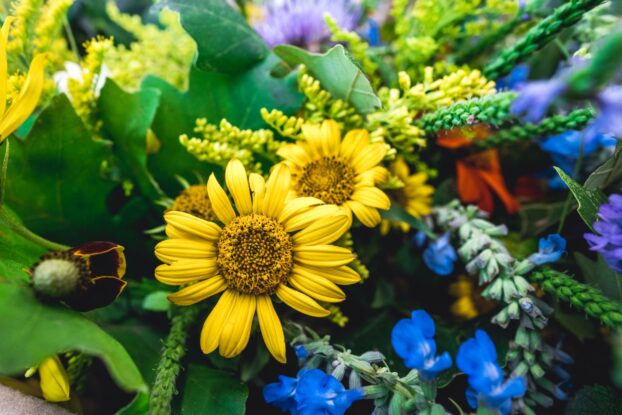
The May 4th, self-guided tour reveals the magic of locally grown flowers and the importance of supporting community agriculture. Their blossoms aren’t just beautiful; they represent a commitment to sustainability and a connection to the land.
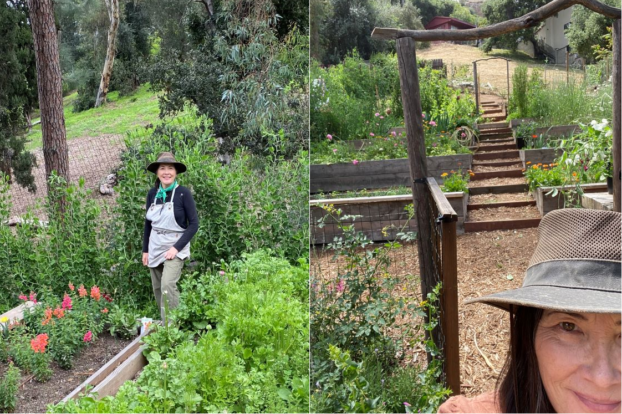
Tour-goers will meet the farmers, making important connections and learning about the dedicated female farmers behind the blooms, including their craft, their passion, and the stories that make each petal special.
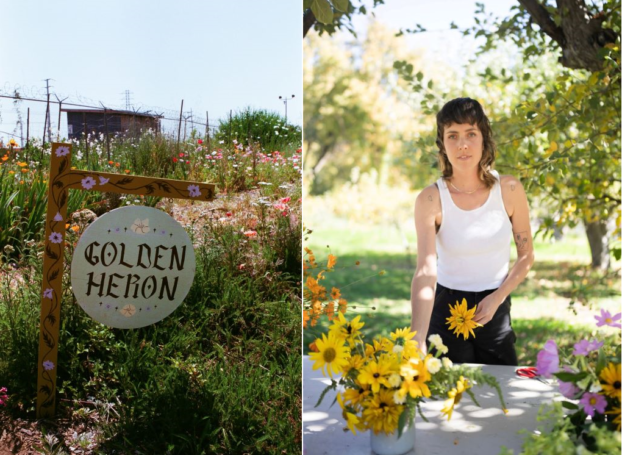
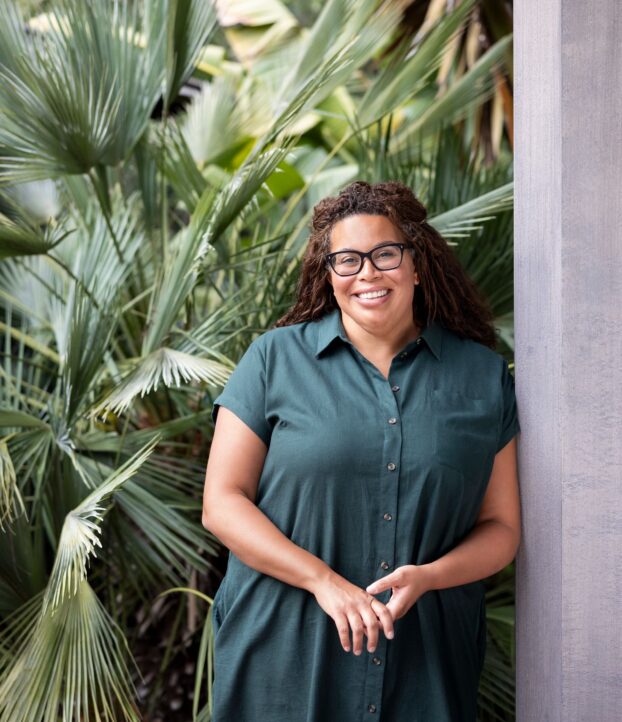
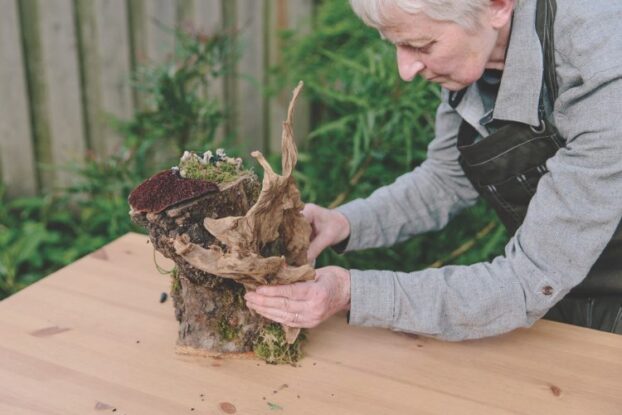
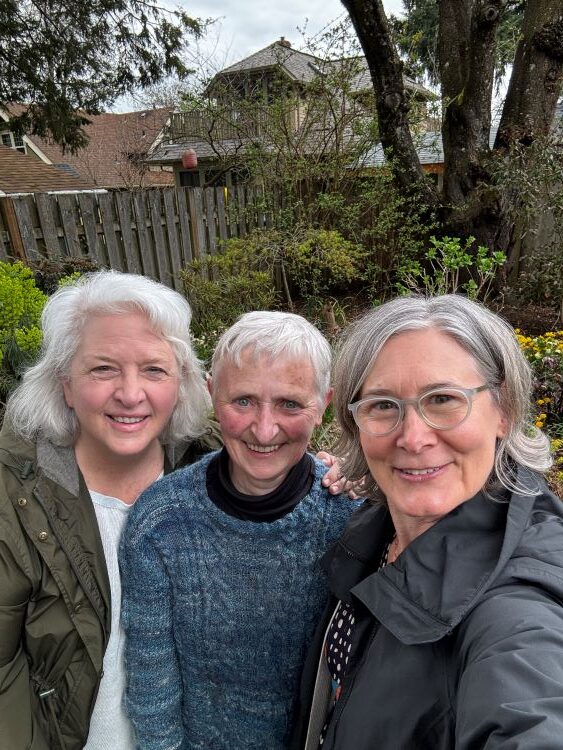
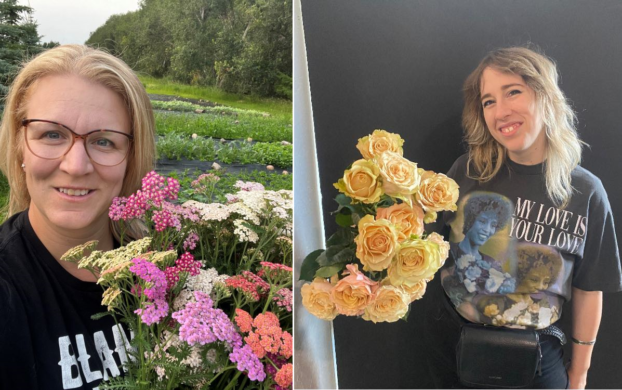
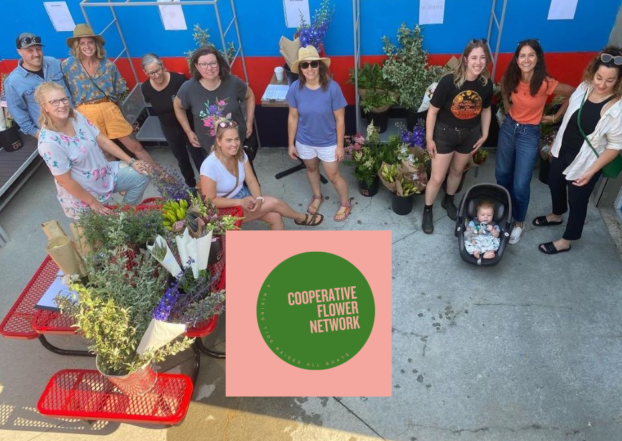
Today’s guests include Kathleen Ferguson of Frogtown Flora; Hannah Melde-Webster of Golden Heron; and Jen Britton of Bloomtown Flower Co. The three women gathered in Jen’s studio to record our conversation, which you’ll see in the accompanying video version of this episode.
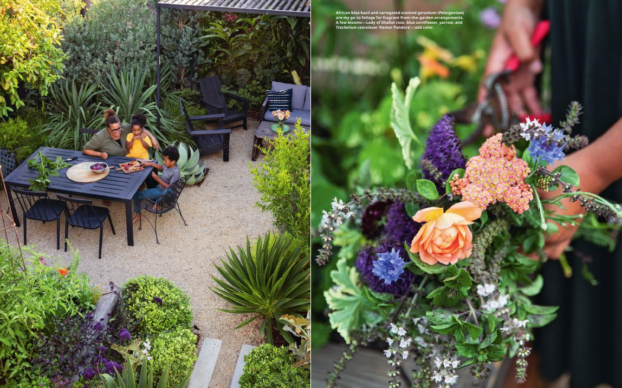
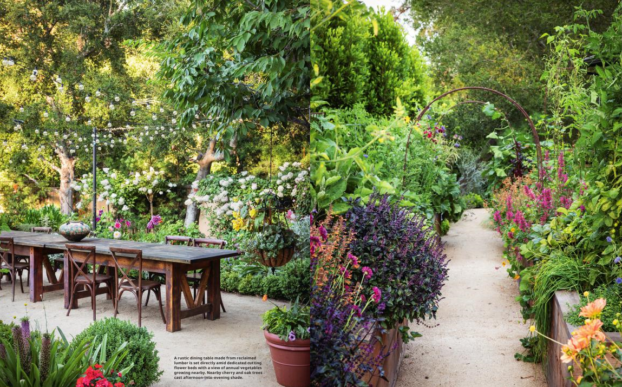
With the ultimate goal of simply celebrating the beauty of spring, their hope is to raise awareness of locally grown blooms and inspire others to start their own gardens too. With land access being so limited in Los Angeles, these farmers each beautifully display ways in which micro farms can thrive within an urban landscape.
I want to mention a special thank you to Shannon Tymkiw of FlowerBox Studios and Farm. She is a longtime, Pasadena-based farmer-florist and Slow Flowers member who first suggested that I feature the tour today. Thank you, Shannon; we appreciate your support!
After the tour was announced, the RSVP’s came flooding in and, as you’ll hear in our conversation, it is now over-subscribed at 800. There is a waiting list and I’ll share that link in today’s show notes.
As guests chart their own course through LA’s floral wonderland, they will also have a chance to take a little piece of each farm home with them. Each farm will have a variety of goods available for purchase, from fresh cut bouquets, u-pick flowers, and potted plants, to handmade goods, treats and beverages.
Follow the Farms
Participating Farms and their additional offerings:
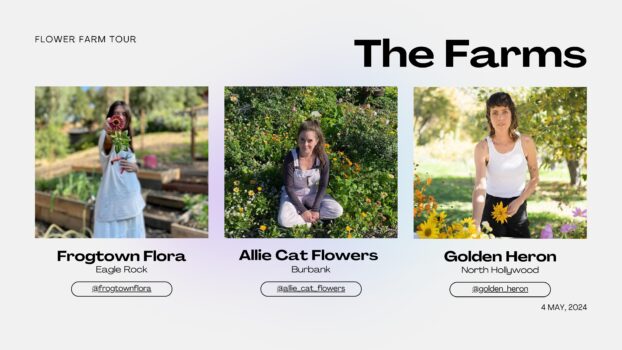
✨Frogtown Flora (frogtownflora.com) Sweet treats, Frogtown Flora merchandise, ceramics, flowers, seeds, and more!
✨Golden Heron (goldenheron.co) U-pick flowers (by appointment), ambient set by S.E. Webster, baked goods by Mimsy’s Munchies, food by Amenohi, ceramics by Gilded Poppy
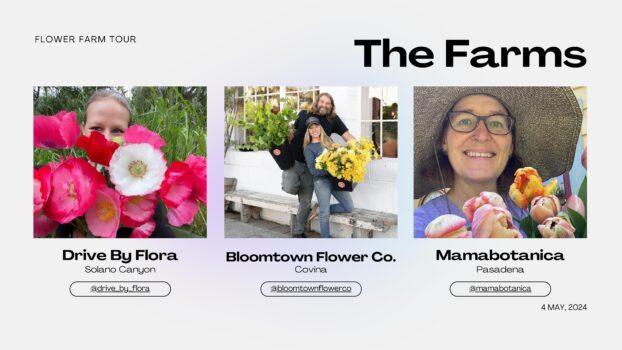
✨Drive By Flora (@drive_by_flora) Flower bunches, ceramics, baby tees, seedlings, snack & treats
✨Bloomtown Flower Co (bloomtownflowerco.com) Plants for sale, flower bunches for sale
✨Mamabotanica Blooms (mamabotanica.com) mini garage sale of plants, books, and garden items
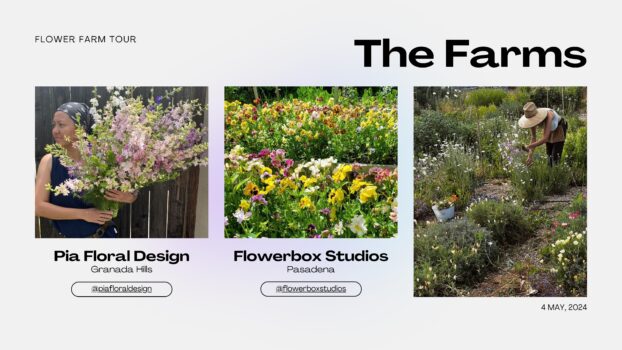
✨Pia Floral (@piafloraldesign) plants for sale, bouquets, some food and drinks, handmade grocery bags
✨Flowerbox Studios + Farms (flowerboxstudios.net) Bouquets for sale, refreshments, a cupcake pop-up
✨Rose Lane Farms (roselanefarms.org)
Let’s come together to share the joy of spring, connect with fellow flower enthusiasts, and support the local agricultural tapestry that adds color to our urban spaces. See you on the Flower Farm Tour!
Pro-tip for tourgoers: Bring a bucket of water in your car so any fresh flowers you buy make it home with you!
This episode is near and dear to my heart, as I lived and worked in Los Angeles between 2006 and 2010, at a time when most Southern California flower farms were big, corporate, and commercial. Those farms play an important role in the country’s cut flower ecosystem, but I’m so glad that there is more diversity of choice and variety with the advent of more micro flower farms. I’ll also share a list and links to all the participating farms, and you’ll want to find and follow their social media accounts.
As a bonus, the video interview ends with short films from all three of today’s guests, plus a fourth bonus video that Shannon Tymkiw of FlowerBox Studios shared. You won’t want to miss this peek into the flower farms discussed today.
Thank you to our Sponsors
This show is brought to you by Slowflowers.com, the free, online directory to more than 750 florists, shops, and studios who design with local, seasonal and sustainable flowers and to the farms that grow those blooms. It’s the conscious choice for buying and sending flowers.
Thank you to The Gardener’s Workshop, which offers a full curriculum of online education for flower farmers and farmer-florists. Online education is more important than ever, and you’ll want to check out the course offerings at thegardenersworkshop.com
Thank you to Store It Cold, creators of the revolutionary CoolBot, a popular solution for flower farmers, studio florists and farmer-florists. Save $1000s when you build your own walk-in cooler with the CoolBot and an air conditioner. Don’t have time to build your own? They also have turnkey units available. Learn more at storeitcold.com.
Thank you to Mayesh Wholesale Florist. Family-owned since 1978, Mayesh is the premier wedding and event supplier in the U.S. and we’re thrilled to partner with Mayesh to promote local and domestic flowers, which they source from farms large and small around the U.S. Learn more at mayesh.com.
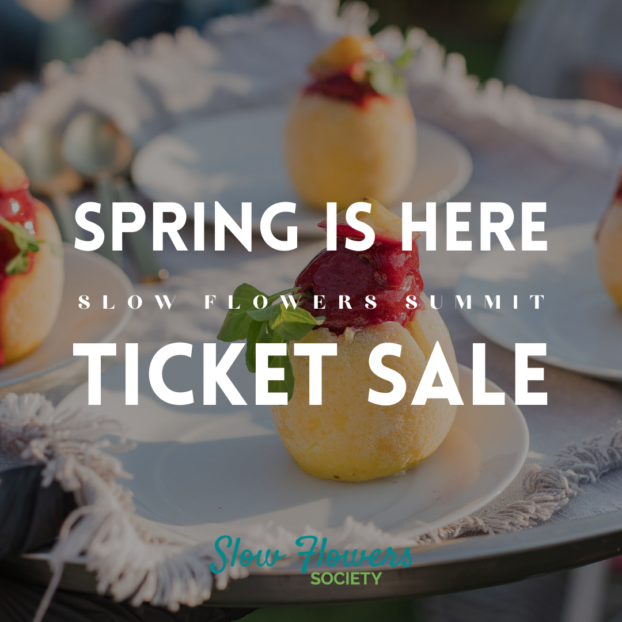
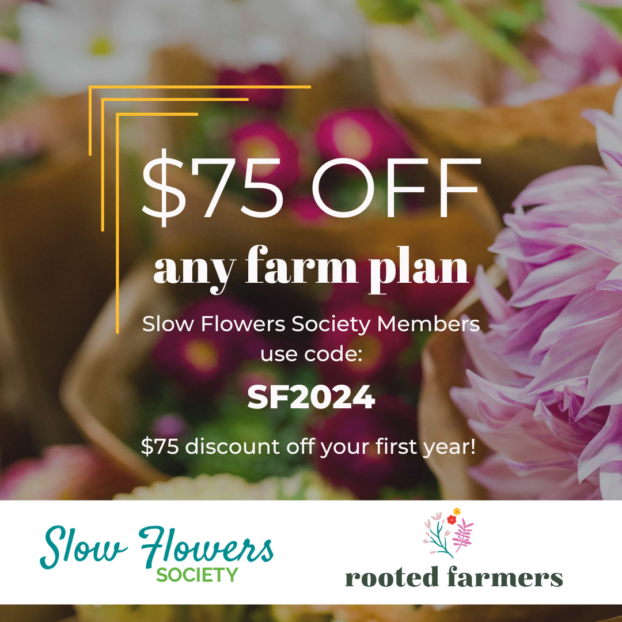
Our Gift to YOU: Slow Flowers Summit Promo Code
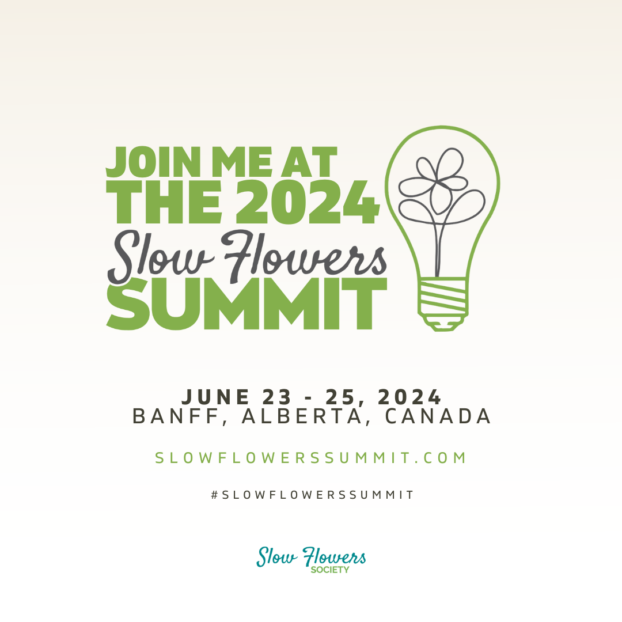
If you’re hearing this episode on its release day – Wednesday, May 1st – we have a special gift for listeners who want to attend the Slow Flowers Summit! The dates are getting closer and closer and we’re so excited to welcome our floral community at the Slow Flowers Summit! We just shared our $75-off Promo Code with the Canadian floral community, but now we’re actually going to share it with everyone!! If you have been thinking of coming to the Slow Flowers Summit, we just released our very best promo code available to use before the June 23rd start date! It is good for all ticket levels and will expire May 5, 2024 at Midnight PT. Find the link in today’s show notes or hop over to slowflowerssummit.com.
I’m so glad you joined us today! The Slow Flowers Podcast is a member-supported endeavor, downloaded more than one million times by listeners like you. Thank you for listening, commenting and sharing – it means so much. As our movement gains more supporters and more passionate participants who believe in the importance of our domestic cut flower industry, the momentum is contagious. I know you feel it, too. If you’re new to our weekly Show and our long-running Podcast, check out all of our resources at SlowFlowersSociety.com
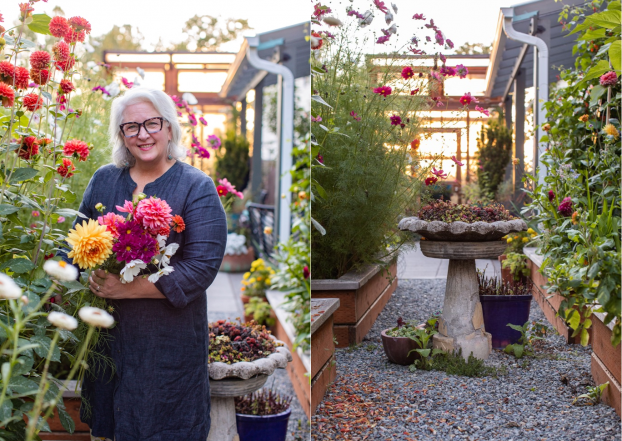
I’m Debra Prinzing, host and producer of the Slow Flowers Show & Podcast. The Slow Flowers Podcast is engineered and edited by Andrew Brenlan. The content and opinions expressed here are either mine alone or those of my guests alone, independent of any podcast sponsor or other person, company or organization. Next week, you’re invited to join me in putting more Slow Flowers on the table, one stem, one vase at a time. Thanks so much for joining us today and I’ll see you next week!
Music Credits:
Drone Pine; Gaena; Turning on the Lights; Daymaze
by Blue Dot Sessions
http://www.sessions.blue
Lovely
by Tryad
http://tryad.bandcamp.com/album/instrumentals
http://creativecommons.org/licenses/by-sa/3.0/
In The Field
audionautix.com