Podcast: Play in new window | Download
Subscribe: Apple Podcasts | Google Podcasts | Podcast Index | RSS | More
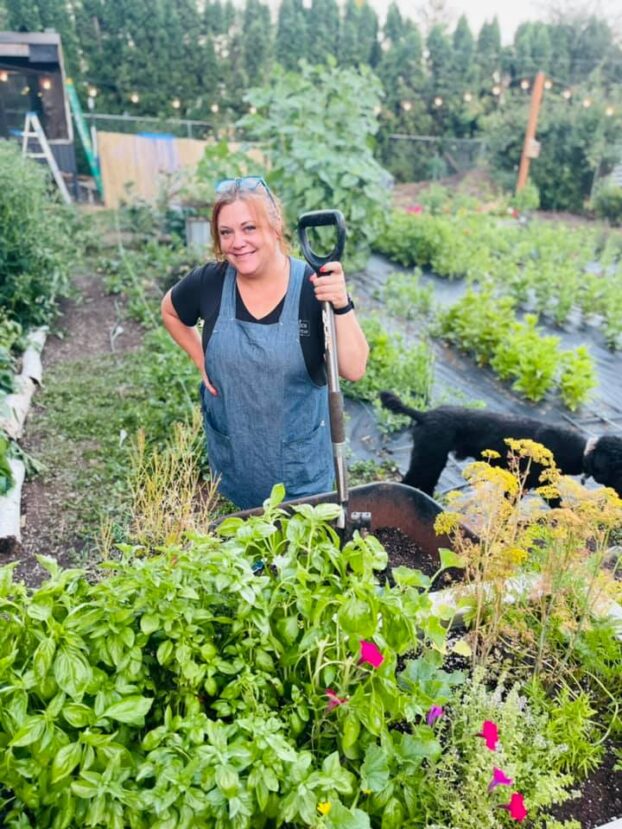
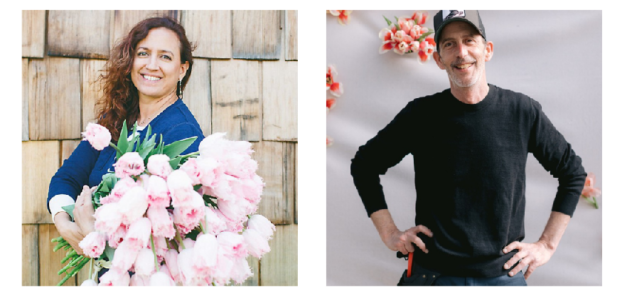
I met today’s guest, Laura Gonzalez, at the 2021 Slow Flowers Summit, which took place in the SF Bay Area at Filoli Historic House and Gardens.

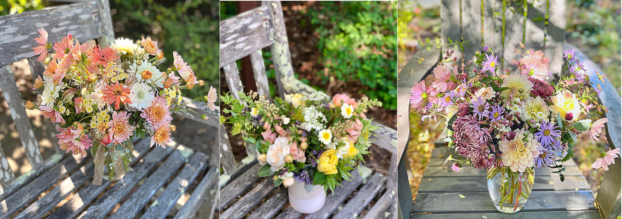
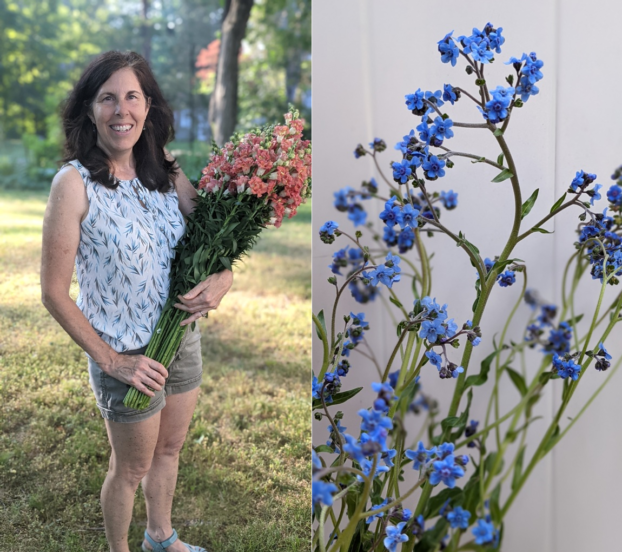
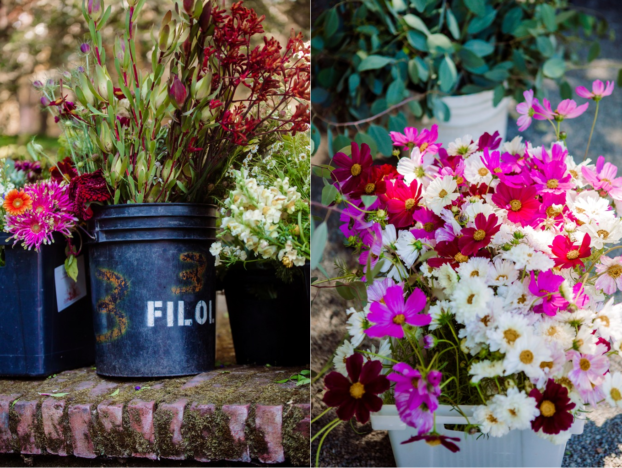
She lives nearby, in a beautiful place called Swallows Secret Garden. Laura aspires to share the joy and beauty of the flowers she grows with customers, friends, and neighbors in the Santa Cruz community by growing a diverse collection of artisanal and seasonal flowers. She says: “As Gardener-in-Chief, I craft each arrangement exclusively from flowers and plants grown on site.”
If you watched our award-winning Slow Flowers video, released one year ago, you will have heard Laura’s voice as she spoke about the value of Slow Flowers Society. She says: “When I joined Slow Flowers, I felt like I had found the floral mothership. We’re all just sharing an exchange of information and a feeling of support that’s incredible.”
I wanted to learn about Laura’s operation, about the origin of her business name (all about those resident swallows) and how she came to flowers. First, you’ll watch a short video introduction that Laura created to share. And then we’ll wrap up with a Q&A. I know you’ll enjoy learning about this gardener-florist.
Find and follows Swallows Secret Garden on Instagram
News for the Week
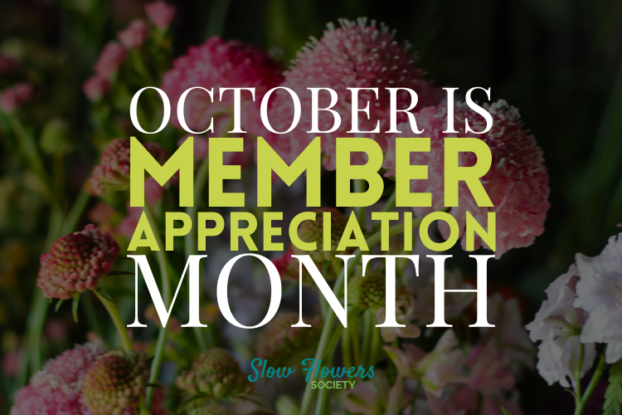
This is the final week of the month and as you have heard, October is our Slow Flowers Society Member Appreciation Month. Perhaps you have enjoyed our bonus content, offered all month long, including Tuesday’s Instagram Live conversations with members on special topics, and Thursday’s Lunchtime Zoom Conversations with Tonneli Gruetter, our membership manager.
And if you haven’t joined us as a member, this is your final reminder to click on over to slowflowerssociety.com where you will find details on joining — all October new members and all members who upgrade from Standard to Premium Level will be included in drawing for a fantastic gift. One name will receive our Perennial Level membership– that’s 3 years, with a $649 value. Please reach out with any questions – membership@slowflowers.com.
Thank you to our Sponsors
This show is brought to you by Slowflowers.com, the free, online directory to more than 850 florists, shops, and studios who design with local, seasonal and sustainable flowers and to the farms that grow those blooms. It’s the conscious choice for buying and sending flowers.

Thank you to our lead sponsor, Farmgirl Flowers. Farmgirl Flowers delivers iconic burlap-wrapped bouquets and lush, abundant arrangements to customers across the U.S., supporting U.S. flower farms by purchasing more than $10 million dollars of U.S.-grown fresh and seasonal flowers and foliage annually. Discover more at farmgirlflowers.com.
Thanks to Store It Cold, creators of the revolutionary CoolBot, a popular solution for flower farmers, studio florists and farmer-florists. Save $1000s when you build your own walk-in cooler with the CoolBot and an air conditioner. Don’t have time to build your own? They also have turnkey units available. Learn more at storeitcold.com.
Thanks to the Association of Specialty Cut Flower Growers. Formed in 1988, ASCFG was created to educate, unite, and support commercial cut flower growers. It mission is to help growers produce high-quality floral material, and to foster and promote the local availability of that product. Learn more at ascfg.org.
Thanks to Red Twig Farms. Based in Johnstown, Ohio, Red Twig Farms is a family-owned farm specializing in peonies, daffodils, tulips and branches, a popular peony-bouquet-by-mail program and their Spread the Hope Campaign where customers purchase 10 tulip stems for essential workers and others in their community. Learn more at redtwigfarms.com
Thanks so much for joining us today! The Slow Flowers Podcast is a member-supported endeavor, downloaded more than 900,000 times by listeners like you. Thank you for listening, commenting and sharing – it means so much. As our movement gains more supporters and more passionate participants who believe in the importance of our domestic cut flower industry, the momentum is contagious. I know you feel it, too. If you’re new to our weekly Show and our long-running Podcast, check out all of our resources at SlowFlowersSociety.com
I’m Debra Prinzing, host and producer of the Slow Flowers Show & Podcast. The Slow Flowers Podcast is engineered and edited by Andrew Brenlan. The content and opinions expressed here are either mine alone or those of my guests alone, independent of any podcast sponsor or other person, company or organization. Next week, you’re invited to join me in putting more Slow Flowers on the table, one stem, one vase at a time.
Music credits:
Blue Straggler; Turning on the Lights; Gaena
by Blue Dot Sessions
http://www.sessions.blue
Lovely
by Tryad
http://tryad.bandcamp.com/album/instrumentals
http://creativecommons.org/licenses/by-sa/3.0/
In The Field
audionautix.com


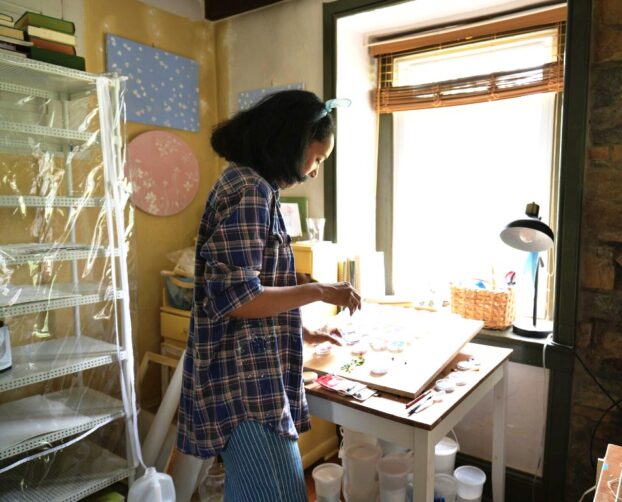
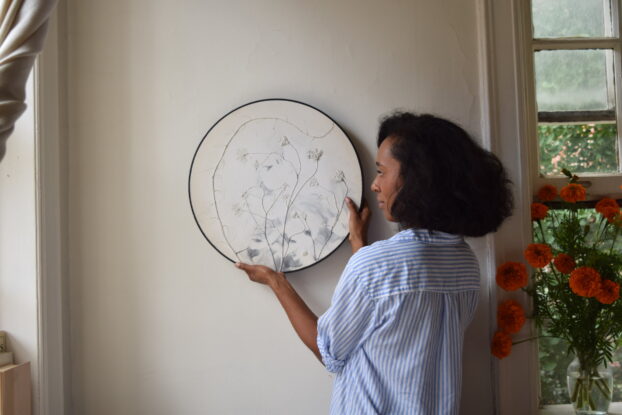
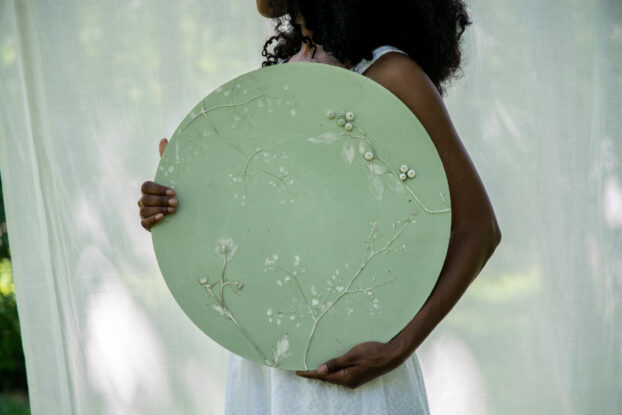
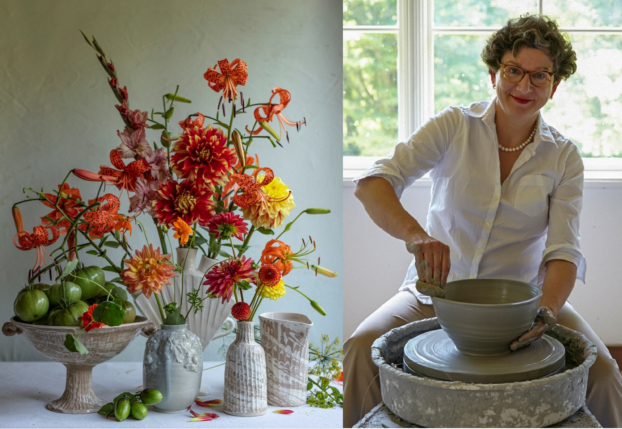
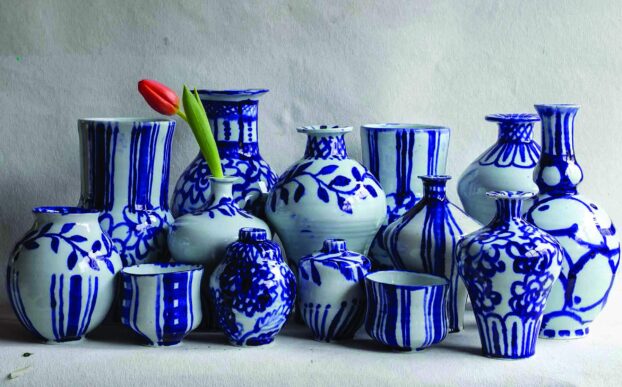
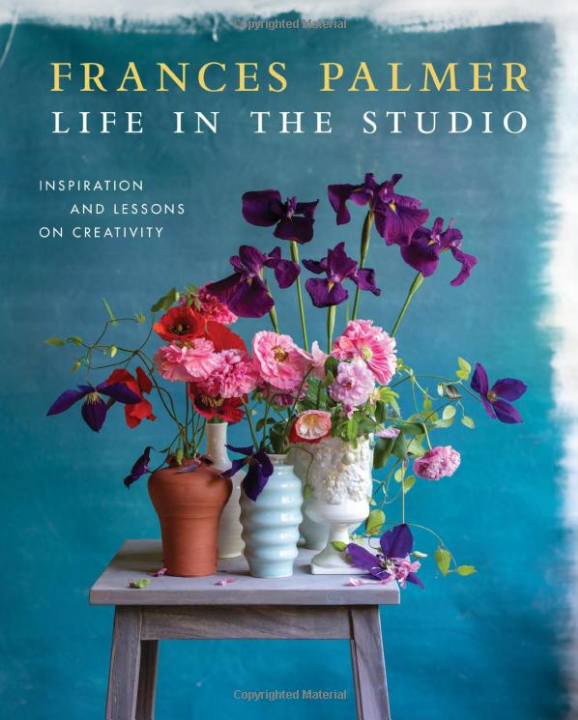 Her pieces have been carried in dozens of stores and galleries, among them Barneys New York, Takashimaya, and the Neue Galerie. They have recently been exhibited at Object & Thing and her photographs at Wave Hill Garden in the Bronx. Frances has made special limited collections for Moda Operandi, Aerin Lauder, and MARCH in San Francisco.


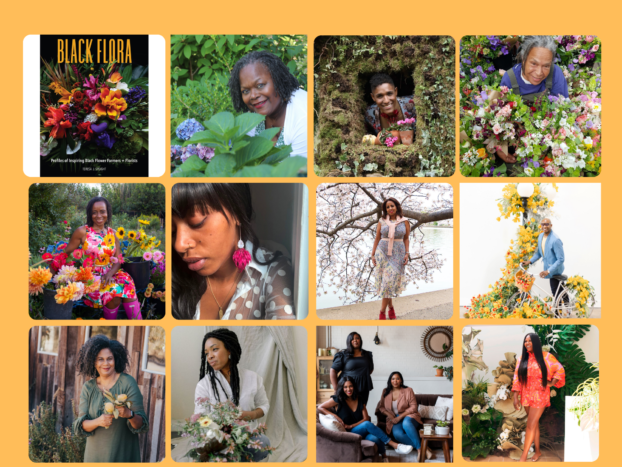
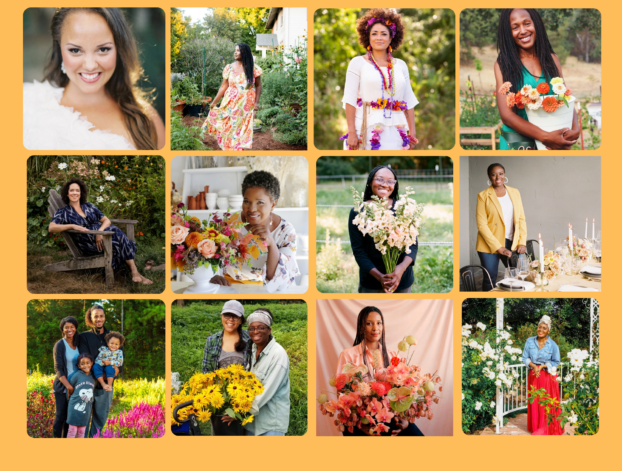
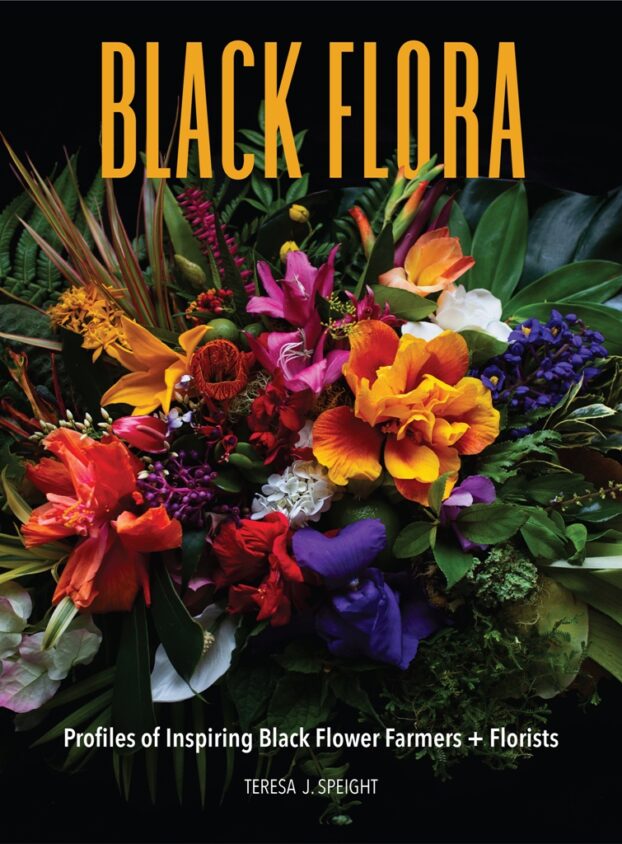
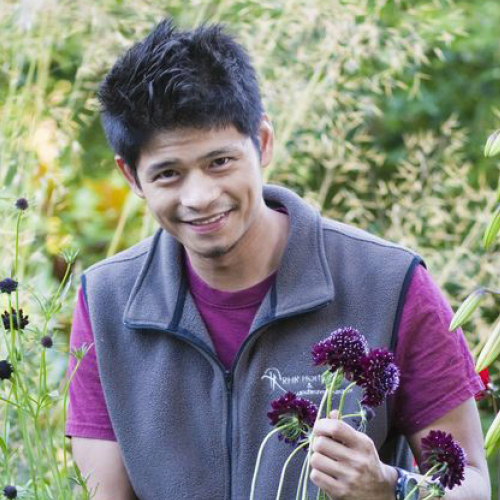 Rizaniño Reyes is a horticulturalist, speaker, and educator. Growing up in the Philippines, Riz spent his childhood on a fruit plantation managed by his father before moving to the Pacific Northwest at age seven. Upon arrival in the United States, he learned the names of the new and strange flowers and continued to nurture his love of horticulture—“the art and science of plants”—at the University of Washington. Of his work, he says he hopes to inspire more young people, “especially people of color, to be involved with interacting with nature and learning about the environment . . . If everyone did this, can you imagine what a beautiful world this could be?”